First scheme. Save the Dates.
I started making these about a week ago with my friend and bridesmaid Stacey, but we spent most of the session coming up with the design and color arrangement. So this saturday my little sister flew down from New York to finish them up with me (as well as handle other maid-of-honor duties).

It took us about half a season of TrueBlood, but we managed to get all the save-the-dates done in one evening. She stamped, I addressed, and we still liked each other at the end of the day.

Here I am at about 12pm after destroying my living room and going on our second mysterious coffee company run. There you can see one of my traditional working faces. The other one is with my tongue hanging out and is decidedly less attractive. Yes, Readers, I confess. I am a tongue sticker-outer when I sew, but since I was only addressing I used my head tapping lip puckering concentration face.
The save the dates weren't overly complicated. I hit the craft store and picked out a few different stamps that I liked. One batch of letters, one pack of swirls and a nifty humming bird stamp that caught my eye. I used three different colors of ink in three different textures. One metallic gold stamp pad, one goldish chalk texture pad, and a little kid's washable yellow ink. All the other yellows I found just were not bright enough so I'm just praying that no one gets these wet because that ink is going to run.
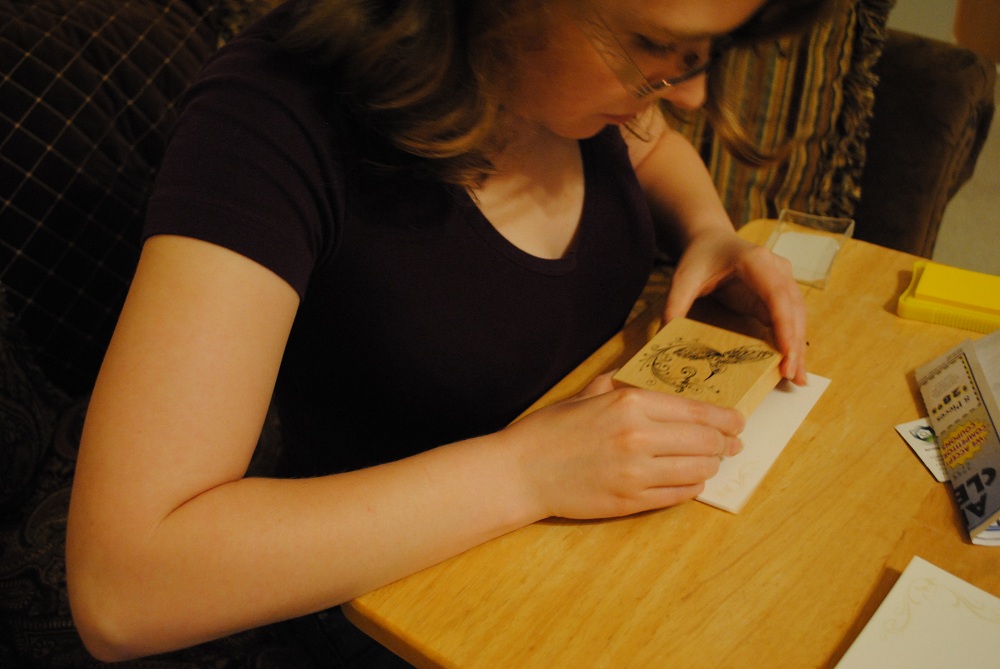
Interesting fact. Briana loved stamps when she was kid. As a result she has excellent stamping skills. No missing pieces just good solid stamp lines 97% of the time. Best of all she works for free.
In any case the next step was to get some paper. I picked up some index card weight paper at the office supply store, designed the postcard face and printed them out. We went with post cards mainly for economy's sake. The stamps were cheaper ($0.44 - $0.28 x a ton of cards =savings!) and I didn't need to purchase envelopes. I managed to make each save the date cost me $0.63 including the postage. The

This is about the time Briana's stamping arm was ready to give out.
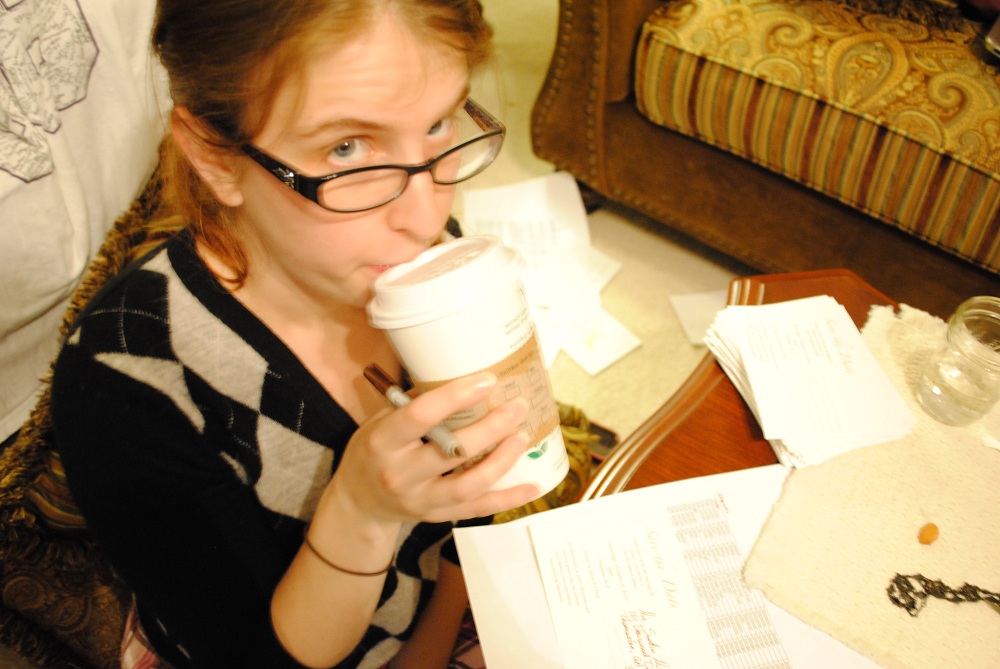
So we took a coffee break. In case you are wondering it was delicious and energizing and that definitely had nothing to do with the two shots of espresso I had them add.

And ended up with these. Over 100 Save the dates, all hand stamped and hand addressed. I feel very accomplished. I'm also really happy with them. Simple, in my colors, cheap, and special because we made them ourselves.
Best of all is the color of the bird matches the flowers our florist picked out for us.

These roses were huge! 3 inches across at least. I would have brought more flowers home, but everything else in the bouquets are not in season. It was really important to me that we used fall flowers since that's my favorite season for flowers. And speaking of flowers I'll have to post some pictures of my Georgia flower garden. Just for the record you can totally plant things in red clay and somehow they grow.


2 comments:
The cards turned out so pretty! I like the yellow stamp over the letters.
Lisette: I actually put the letters over the bird, though I suppose it doesn't really matter which way you do it with these. The gold always seems to win over the yellow.
Post a Comment